
How to Install an Invisible In-Desk Wireless Charger (Zero Clutter Desk Setup)
How to Install an Invisible In-Desk Wireless Charger (Zero Clutter Desk Setup)
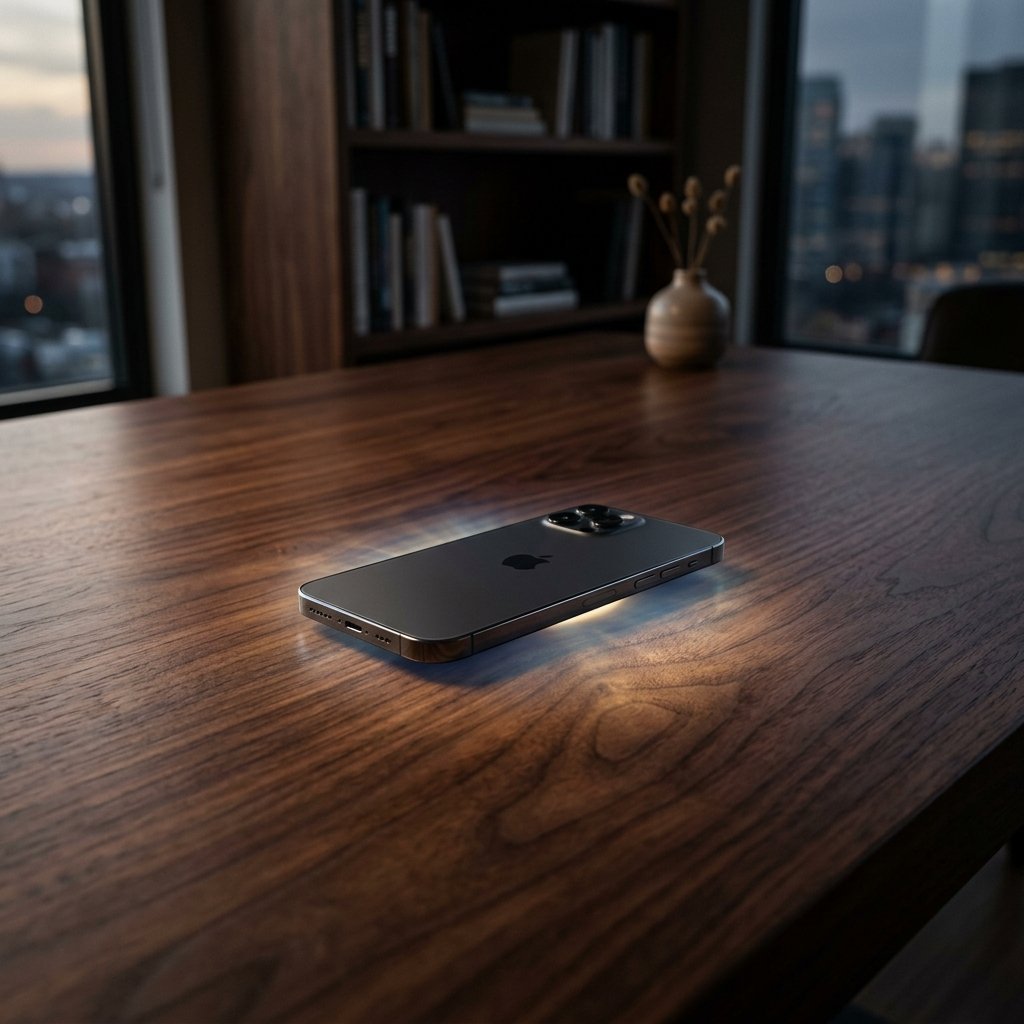
Welcome to the ultimate guide on achieving a zero-clutter desk setup. If you are tired of unsightly cables and clunky charging pads ruining your minimalist workspace, it’s time to upgrade. Moving beyond basic cable management trays, this hands-on woodworking and modding tutorial will show you exactly how to router out the underside of a solid wood desk to embed a hidden charging pad. The result? A completely seamless, “magical” charging surface with zero visible tech. Let’s dive into the fascinating process of installing an invisible in-desk wireless charger and transform your desk into a futuristic workstation.
Why Choose an invisible in-desk wireless charger?

In the modern workspace, aesthetics and functionality go hand-in-hand. Traditional wireless chargers, while convenient, still occupy valuable real estate on your desk and contribute to visual clutter. By opting for a hidden charging solution, you maintain the pristine look of your beautiful solid wood desk while enjoying the convenience of drop-and-go charging.
An invisible charger operates using electromagnetic induction. A transmitter coil hidden beneath the desk creates a magnetic field that passes through the wood, transferring power to the receiver coil in your smartphone or earbuds. While many of these chargers can penetrate up to 30mm of material, the most robust and magical-feeling setups often involve routing a custom recess to ensure the charging connection is flawless, fast, and completely hidden from view.
Tools and Materials You Will Need
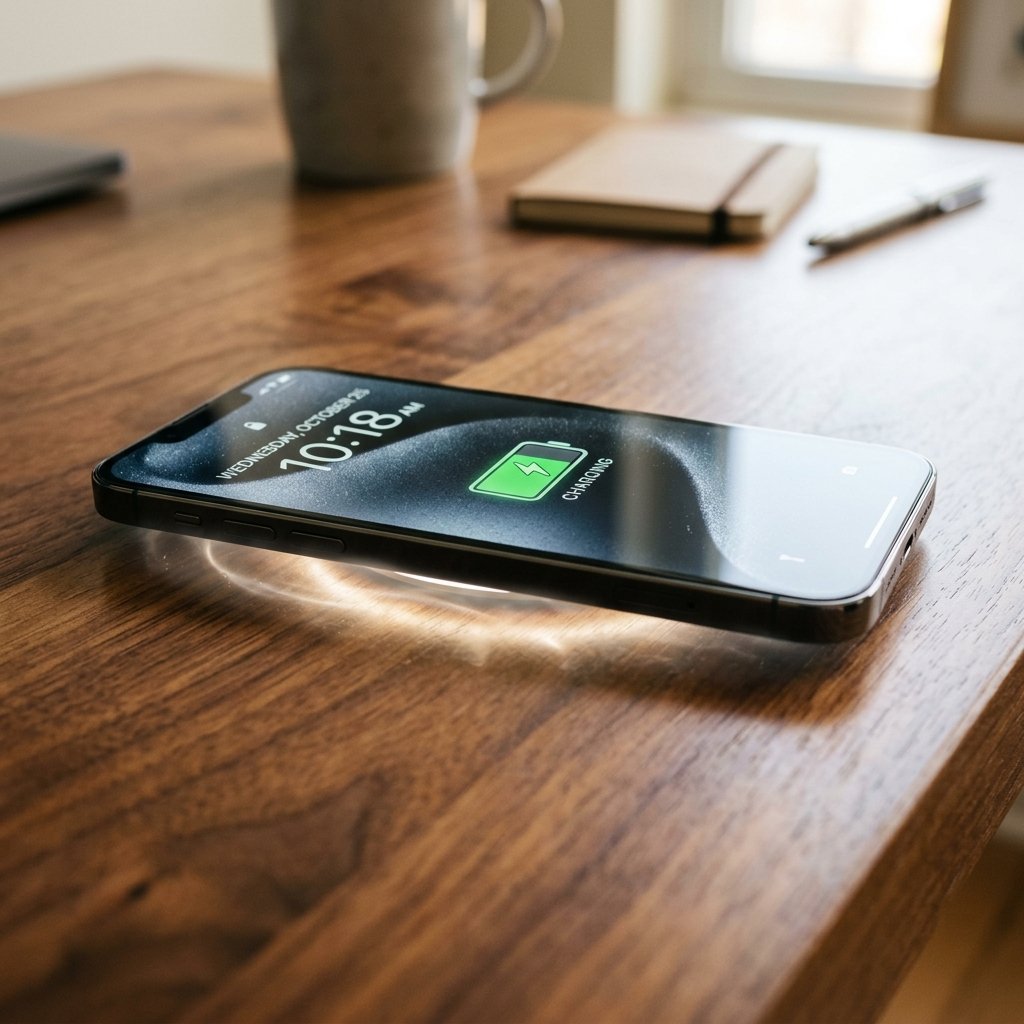
Before you begin your desk modification journey, you will need to gather a few essential tools and materials. This project requires some basic woodworking skills, but the payoff is well worth the effort.
- The Charger: A high-quality, long-distance wireless charger designed for under-desk mounting. Look for one with a charging distance that accommodates the thickness of wood you plan to leave intact.
- A Solid Wood Desk: This tutorial is best suited for solid hardwood or thick butcher block desks. Particleboard or honeycomb-core desks (like some IKEA models) are not ideal for routing.
- Plunge Router: The essential tool for carving out the recess on the underside of your desk.
- Router Bits: A flat-bottom straight bit or a bowl-carving bit for creating a smooth, flat recess.
- Measuring Tape and Calipers: For precise depth measurements.
- Painter’s Tape and Markers: To mark your “sweet spot” and outline the routing area.
- Safety Gear: Safety glasses and hearing protection are non-negotiable when using a router.
- Chisels and Sandpaper: For fine-tuning the edges of your routed pocket.
- Strong Double-Sided Adhesive or Mounting Brackets: To secure the charger in place once the recess is complete.
Step 1: Determine the Perfect Charging Location
The first step is deciding exactly where you want your phone to rest. Sit at your desk in your normal working posture. Reach out naturally to place your phone down. That natural resting spot is where your charger should go.
Use a piece of painter’s tape to mark this spot on the top surface of your desk. Take your time with this step; once you router the underside, you cannot easily move the charging zone. Consider your mouse movement area, keyboard placement, and where you typically set down your coffee mug to avoid any future conflicts.
Step 2: Transfer the Mark to the Underside
Now that you have your ideal spot marked on top, you need to transfer that exact location to the underside of the desk. The easiest way to do this without drilling a pilot hole is to measure from the edges of the desk.
Measure the distance from the front edge of the desk to the center of your tape marker, and then measure from the left or right edge. Write these measurements down. Clear your desk, flip it over (get a friend to help if it is heavy), and use those same measurements to mark the center point on the underside. Outline the exact dimensions of your wireless charger around this center point, adding about a quarter-inch of clearance on all sides to allow for an easy fit.
Step 3: Calculate Your Routing Depth
This is the most critical step. You must leave enough wood for structural integrity and aesthetics, but thin it out enough for the charger’s electromagnetic field to penetrate effectively.
Consult your charger’s manual to find its maximum charging distance (usually between 15mm to 30mm). Measure the total thickness of your desk. Subtract the maximum charging distance from your desk’s total thickness. This number is the minimum depth you need to router. However, to ensure a strong and consistent charge, it is recommended to router slightly deeper, leaving a wood thickness of about 5mm to 10mm above the charger, depending on the wood’s density and the charger’s power.
Set your plunge router’s depth stop carefully. It is always better to make multiple shallow passes rather than one deep cut. Pro tip: Use your calipers to double-check the depth stop setting before turning on the router.
Step 4: Router Out the Pocket
Put on your safety glasses and hearing protection. Ensure your desk is securely clamped down so it will not move during routing.
Start routing within your outlined area. Make slow, controlled passes, removing a few millimeters of material at a time. Work your way back and forth until you have cleared the entire pocket. Once you reach your target depth, ensure the bottom of the pocket is as smooth and flat as possible. A flat bottom ensures the charger sits flush, maximizing its proximity to the top surface.
Use a chisel and sandpaper to clean up the corners and edges of your routed pocket. Vacuum away all the sawdust so you have a clean surface for mounting the charger.
Step 5: Test the Setup Before Mounting
Before permanently adhering the charger, it is crucial to test it. Place the charger into the routed pocket and plug it into a power source. Flip the desk back over (or crawl underneath) and place your phone on the marked sweet spot on the top surface.
If your phone begins charging immediately and maintains a steady charge, congratulations! Your depth calculations were perfect. If it doesn’t charge, or the connection is spotty, you may need to router the pocket slightly deeper. Do not proceed to the final mounting step until you are 100% satisfied with the charging performance.
Step 6: Mount the Charger and Manage the Cable
Once you have confirmed everything works flawlessly, it’s time to permanently mount the device. Most under-desk chargers come with heavy-duty 3M adhesive pads. Peel off the backing and press the charger firmly into the routed pocket. If your charger includes mounting brackets or screws, use those for added security, ensuring the screws are short enough that they won’t poke through the top of your desk.
With the charger secure, address the power cable. Use cable management clips, raceways, or zip ties to route the cable neatly along the underside of the desk and down a desk leg to your power strip. The goal is zero visible tech, and that includes hiding the power cord completely from view.
Step 7: Mark the Sweet Spot (Optional but Recommended)
Your charger is now fully installed and hidden. While some people prefer a completely unmarked surface, you might find it frustrating to hunt for the exact charging zone every time you set your phone down.
To keep the aesthetic clean but functional, consider a subtle marker. You could use a tiny, custom-cut piece of wood veneer, a sleek vinyl decal, or even lightly engrave a minimalist crosshair or circle over the spot. The goal is to provide a visual cue without detracting from the natural beauty of the wood.
Embrace the Future with Your invisible in-desk wireless charger
By taking the time to carefully router out the underside of your solid wood desk, you have elevated your workspace from standard to spectacular. You have successfully moved beyond messy cables and clunky accessories to create a truly seamless, magical charging experience. Every time you casually toss your phone onto the desk and watch the battery icon light up, you will appreciate the craftsmanship and clean lines of your zero-clutter setup. Installing an invisible in-desk wireless charger is more than just a tech upgrade; it is a commitment to a focused, beautiful, and highly efficient working environment. Enjoy your newly transformed, magical desk!
You can read more about How to Turn a Spare Closet Into a Micro-Office (Cloffice Guide).
You can read more about Maximizing Natural Light with Smart Blinds.