How to Build a DIY Local NAS for Total Data Privacy: A Step-by-Step Tech Mod
How to Build a DIY Local NAS for Total Data Privacy: A Step-by-Step Tech Mod
In an era where our most intimate digital lives are hosted on servers we don’t control, reclaiming ownership of your data has never been more critical. Enter the DIY local NAS for privacy. While many Network Attached Storage (NAS) guides focus strictly on media streaming, Plex setups, and simply adding more space for your digital hoarding, this guide takes a different route. We are positioning the DIY NAS as the ultimate tech mod for privacy advocates, digital minimalists, and anyone exhausted by the surveillance capitalism inherent in Big Tech cloud subscriptions. By following this step-by-step blueprint, you can build a secure, anti-surveillance local server that completely replaces services like Google Drive, iCloud, and Dropbox, all without compromising your workflow efficiency.
Why Build a DIY local NAS for privacy?
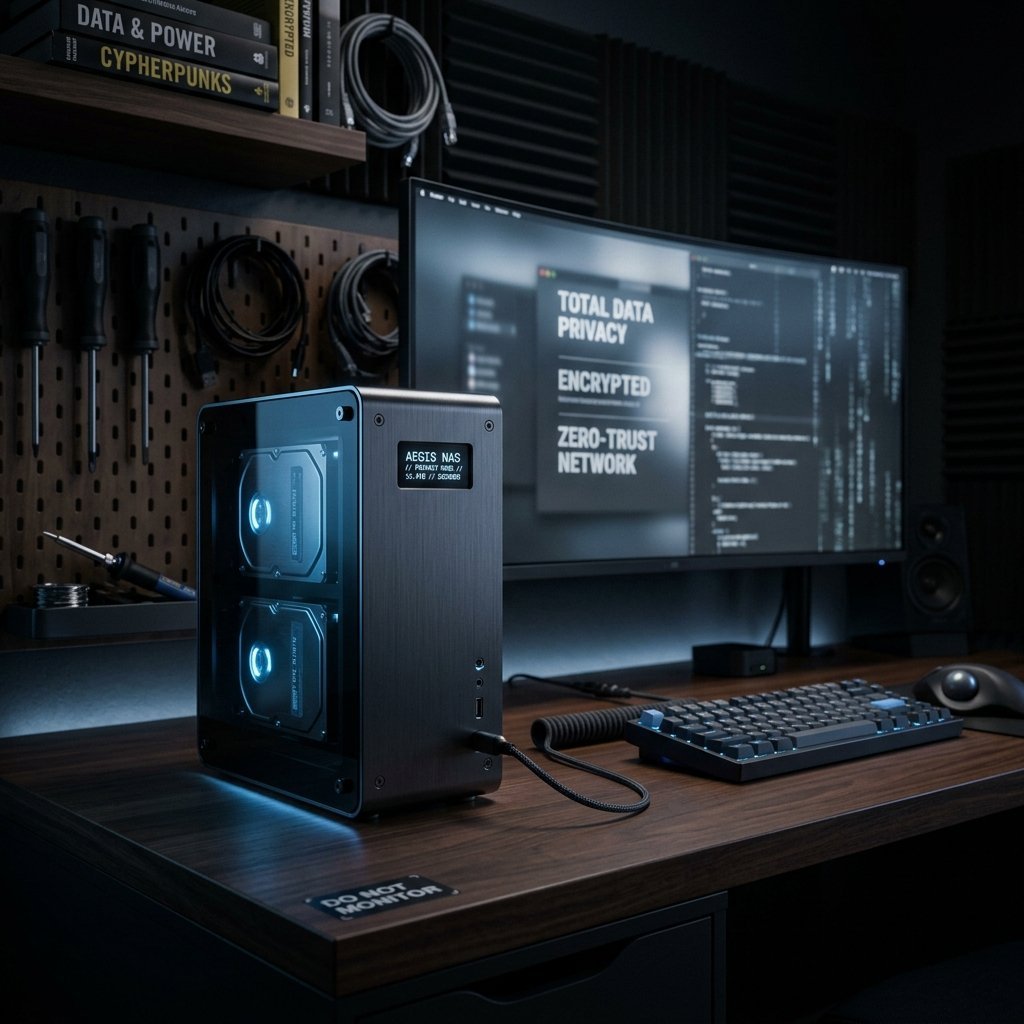
You might be wondering why you should go through the trouble of building your own server when cloud storage is so convenient. The answer lies in total data sovereignty. When you upload your files to a major cloud provider, you are entrusting them with your personal documents, photos, and projects. Even with encryption, the infrastructure is out of your hands, and changing terms of service can suddenly scan your private data for advertising profiles or AI training.
Beyond the philosophical need for privacy, there is a tangible financial benefit. Monthly subscription fees for multiple terabytes of cloud storage add up quickly over the years. A DIY approach allows you to scale your storage infinitely with a one-time hardware investment. You become your own independent cloud provider, giving you the absolute power to dictate security policies, monitor access logs, and enforce encryption standards that big corporations often bypass.
Step 1: Selecting the Right Hardware for Your Anti-Surveillance Server
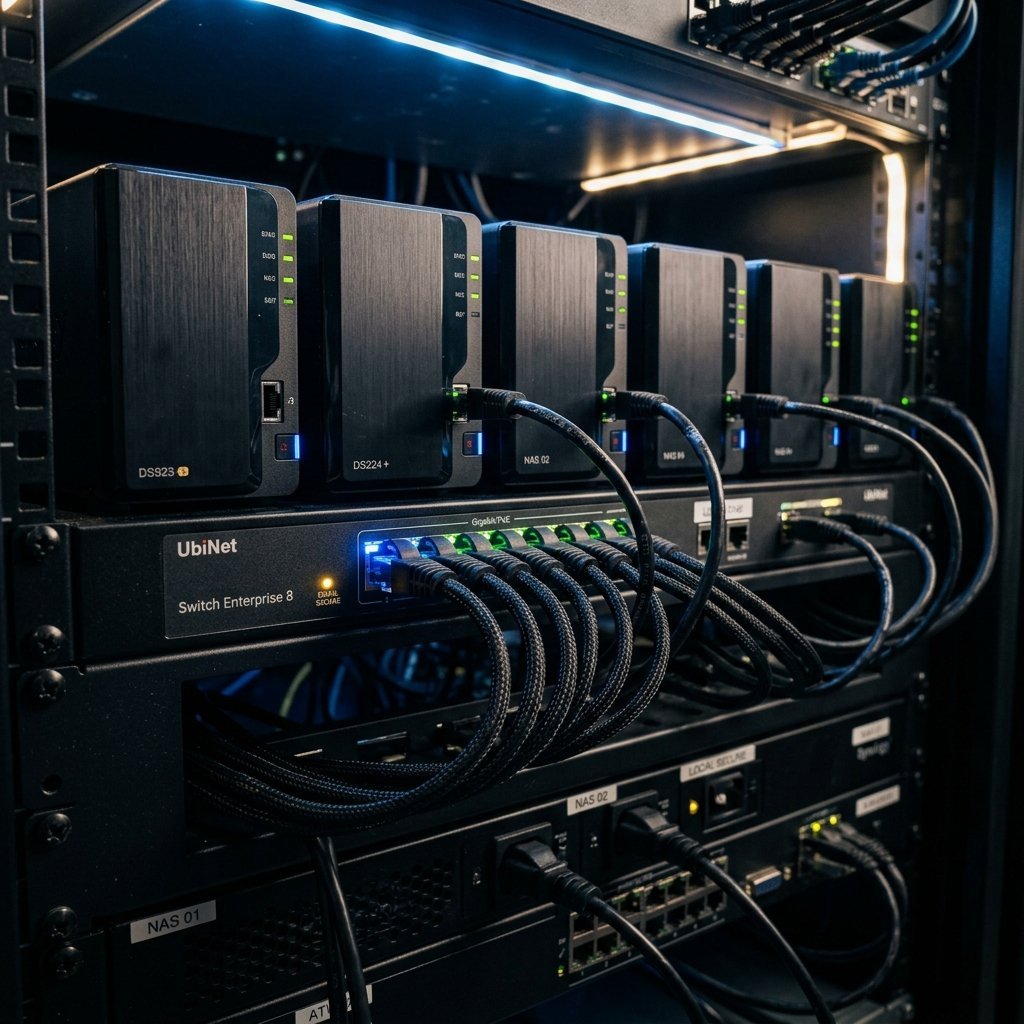
The foundation of any good tech mod is the hardware. For a privacy-focused NAS, you don’t necessarily need a screaming fast gaming rig, but you do need reliability, longevity, and power efficiency. Here are the components you need to consider:
The Processing Core: Mini PC or Custom Build?
If you want a low-power, efficient setup, an Intel N100 Mini PC or a Raspberry Pi 5 can serve as an excellent “brain” for your NAS. They draw minimal power, run quietly, and have enough processing capability to handle basic file transfers and encryption overhead. However, if you plan to implement heavy ZFS deduplication, run multiple privacy-focused virtual machines, or use heavy software suites for a full cloud replacement, building a custom PC using a modern but energy-efficient desktop CPU provides the necessary headroom.
Storage: NAS-Grade Hard Drives and SSD Caching
Do not skimp on your storage medium. Opt for NAS-grade Hard Disk Drives (HDDs) like the Seagate IronWolf or Western Digital Red series. These drives are specifically designed to run 24/7 and handle the vibrations of multi-drive enclosures. To ensure true data privacy and integrity, you will want to implement a redundant RAID configuration (like RAID 1 for mirroring or RAID-Z1 for parity) so that a single drive failure doesn’t result in catastrophic data loss. For an extra boost in workflow efficiency, consider adding an NVMe SSD to act as a cache drive, which significantly speeds up file access times for your daily tasks.
Step 2: Choosing an Open-Source Operating System
The operating system is where your privacy mod truly takes shape. Proprietary OS options exist on pre-built NAS devices, but an open-source solution ensures that the code running your server can be audited by the community for backdoors, hidden trackers, or telemetry.
TrueNAS SCALE: The Heavyweight Champion
TrueNAS SCALE is built on Debian Linux and utilizes the powerful ZFS file system. It is arguably the most robust choice for a secure NAS. ZFS provides enterprise-grade data integrity features, preventing “bit rot” and ensuring that your encrypted data remains perfectly intact over years of cold storage. TrueNAS also natively supports Docker containers, allowing you to easily host your own self-hosted apps securely in isolated environments.
OpenMediaVault (OMV): Lightweight and Flexible
If TrueNAS feels like overkill for your hardware, OpenMediaVault is an excellent alternative. Also based on Debian, it requires far fewer hardware resources while still offering robust file-sharing protocols, user permission management, and security settings. OMV is highly modular, meaning you only install the plugins you strictly need, thereby minimizing your server’s attack surface.
Step 3: Fortifying Network Security and Remote Access
A true privacy server must not be blindly exposed to the public internet. Opening standard ports on your router (like port forwarding for direct SMB or FTP access) is a massive security risk that invites automated botnets to attack your local network. To replace Google Drive and iCloud, you still need remote access, but it must be heavily fortified.
Implementing a WireGuard VPN Tunnel
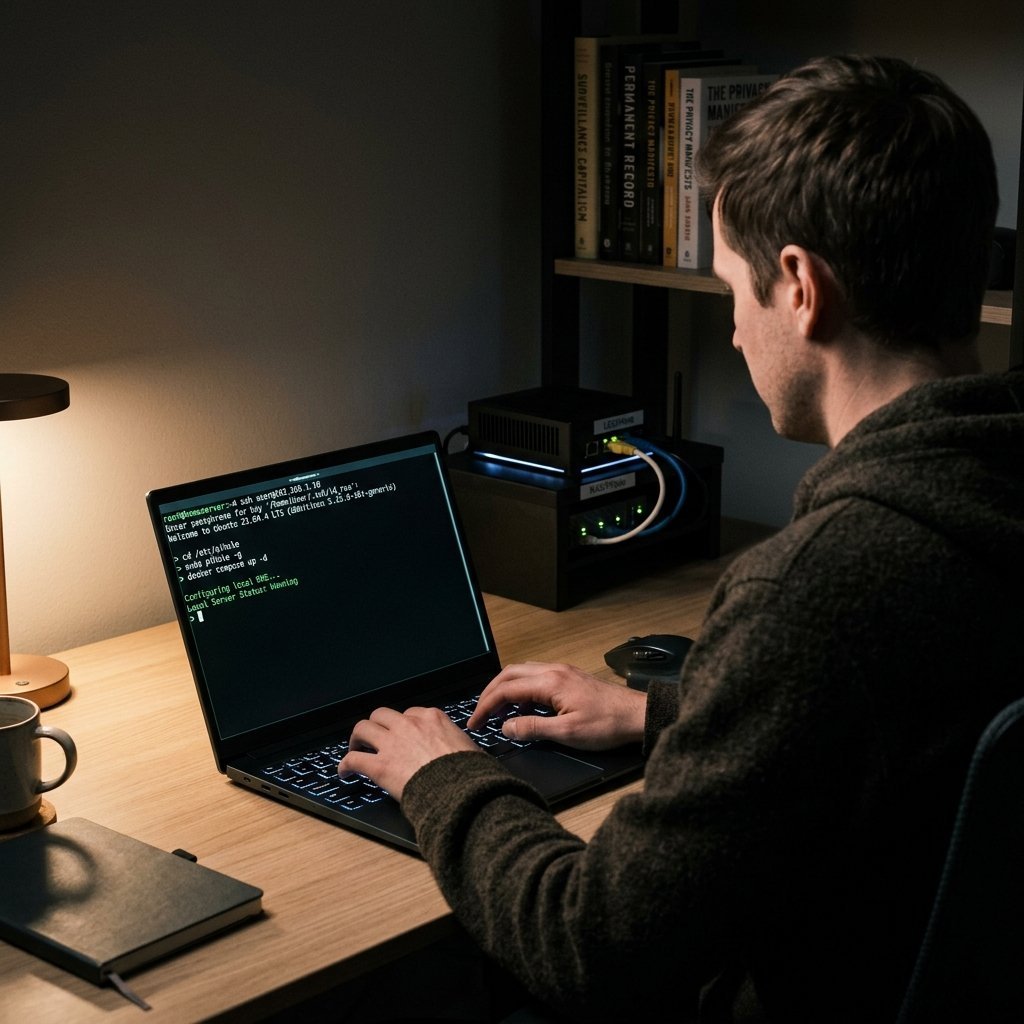
The most secure method for accessing your files from outside your home is via a Virtual Private Network (VPN). WireGuard is a modern, blazing-fast, and highly secure VPN protocol. By installing a WireGuard server on your NAS (or on your router, if supported), your smartphone or laptop can create a secure, encrypted tunnel back to your home network. To the outside world, your NAS remains completely invisible, yet you can seamlessly access your files from a coffee shop halfway across the world.
Tailscale or ZeroTier for Simplicity
If setting up WireGuard manually seems daunting or your ISP uses Carrier-Grade NAT (CGNAT), overlay networks like Tailscale or ZeroTier provide a brilliant compromise. They utilize robust encryption to create a secure mesh network between your devices, allowing you to access your NAS remotely without opening any router ports. While they rely on third-party coordination servers to establish the handshake, the data itself is end-to-end encrypted, maintaining your strict privacy standards.
Step 4: Self-Hosting Your Cloud Alternatives for Workflow Efficiency
With the hardware running and the network secured, it is time to replicate the seamless workflow efficiency of Big Tech services using privacy-respecting, self-hosted alternatives.
- Nextcloud: This is the ultimate, all-in-one replacement for Google Drive and iCloud. Nextcloud offers file syncing, calendar management, contacts, and even collaborative document editing through built-in office suites. The client apps are available on iOS, Android, macOS, and Windows, ensuring your workflow remains uninterrupted, while the data lives entirely on your local server.
- Syncthing: If you only need pure file synchronization between devices (without a heavy web interface), Syncthing is a decentralized, peer-to-peer sync tool that encrypts data in transit. It is perfect for keeping Obsidian vaults or code repositories updated across multiple machines.
- Immich or PhotoPrism: To replace Google Photos or Apple iCloud Photos, install Immich or PhotoPrism via Docker. These powerful platforms automatically back up photos from your smartphone and offer AI-driven facial recognition, geolocation, and categorization—all processed locally on your server without sending a single pixel to the cloud.
- Vaultwarden: Take absolute control of your digital identity by self-hosting Vaultwarden, a lightweight implementation of the Bitwarden password manager API. You get all the premium features of a cloud password manager without trusting a third party with your encrypted vault.
Step 5: Full Disk Encryption and The 3-2-1 Backup Strategy
Privacy isn’t just about hiding data from tech giants and internet snoops; it’s also about securing it against physical theft. When configuring your NAS OS, always enable Full Disk Encryption (FDE). If someone breaks into your home and steals the physical server or the drives, they will be left with an unreadable brick of encrypted data without your decryption key or passphrase.
Furthermore, remember the golden rule of data hoarding: a NAS is not a backup—it is your primary data store. A hardware failure, local fire, or accidental deletion can still wipe out your files. To maintain ultimate security, follow the 3-2-1 backup rule: keep three copies of your data, on two different media types, with one copy stored off-site. For the off-site copy, you can encrypt your backups locally on the NAS before pushing them to an encrypted cloud storage bucket (like Backblaze B2 or AWS Glacier). Because the data is encrypted locally before it leaves your network, even the remote backup provider cannot read your files.
Conclusion: The Ultimate Digital Independence
Transitioning away from mainstream cloud services might seem intimidating at first, requiring a bit of technical elbow grease and a weekend of tinkering. However, completing this project is incredibly rewarding. By investing the time to build a DIY local NAS for privacy, you are taking a definitive stand against surveillance capitalism and data harvesting.
You are transforming a simple file server into a powerful, anti-surveillance tech mod that meticulously safeguards your digital life. With the right hardware selection, a secure open-source operating system, encrypted remote access, and powerful self-hosted applications, you can achieve the seamless workflow efficiency of modern cloud computing while maintaining absolute, undeniable sovereignty over every single byte of your personal data.
You can read more about Creating a Focus Hub: The Ultimate Desk Mod.
You can read more about Ultimate Stealth: How to Mount Your PC Under Your Desk Without Drilling.