The End of Motion Sensors: How to Build an ‘Invisible’ Smart Home with mmWave
The End of Motion Sensors: How to Build an ‘Invisible’ Smart Home with mmWave
We’ve all been there: you are sitting comfortably on the couch reading a book, or deep in focus at your home office desk, and suddenly, the room goes pitch black. You have to wave your arms wildly like you’re stranded on a desert island just to get the lights back on. Most smart home guides still rely on outdated Passive Infrared (PIR) motion sensors that only detect sweeping movements. When you sit still, they assume the room is empty. It’s time to upgrade. This article introduces mmWave presence sensing—the new standard for truly proactive, invisible home automation. By mastering the mmWave presence sensor setup, you can configure precise zones, eliminate annoying false positives, and create a flawless, human-centric smart home experience.
Why Standard PIR Motion Sensors Are Failing You
To understand the revolution that mmWave technology brings, we first need to look at the shortcomings of the sensors you probably already have installed throughout your house. Traditional PIR sensors work by detecting the infrared heat signature of a human body moving across their field of view. While they are fantastic and highly responsive for triggering a hallway light when you walk past, they are fundamentally inadequate for detecting true occupancy in living spaces.
A PIR sensor does not actually know if a person is in the room; it only knows if a person is moving significantly across its sensor beams. If you are typing quietly on a keyboard, watching a movie, eating dinner, or sleeping, you are simply not generating enough lateral movement to trigger a PIR sensor. This technological limitation forces smart home users into a frustrating compromise: either you set the lighting timeout to an absurdly long duration (wasting electricity and defeating the entire purpose of automation), or you accept that you will be doing the “motion sensor macarena” every ten to fifteen minutes to keep the lights on. It is a terrible user experience that makes the smart home feel remarkably dumb.
Enter mmWave: The Future of Presence Sensing
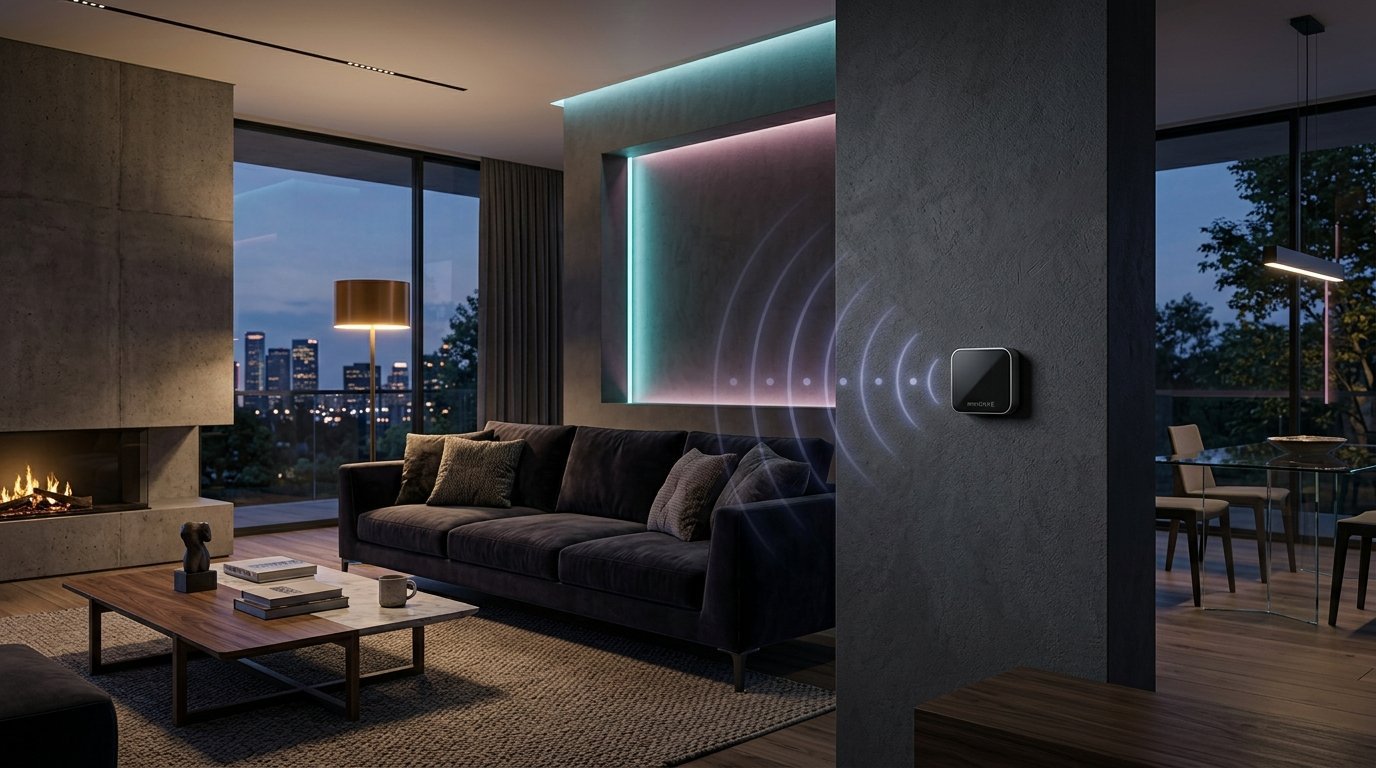
Millimeter wave (mmWave) technology completely flips the script on how we handle smart home occupancy. Instead of relying on infrared heat signatures, mmWave technology uses high-frequency radar to bounce signals off objects in the room. This allows the sensor to detect incredibly subtle micro-movements—even something as minute as the rise and fall of your chest as you breathe, or the slight shift of your weight while sitting in a chair.
Originally utilized in automotive radar systems (like blind-spot monitoring) and advanced industrial applications, mmWave sensors have now become affordable and accessible for everyday smart home enthusiasts. Unlike PIR, an mmWave sensor knows exactly if someone is in the room, regardless of whether they are doing jumping jacks or meditating perfectly still in a corner. This creates a truly “invisible” automation experience. The home simply responds to your presence without ever demanding any active input from you.
The Ultimate mmWave presence sensor setup Guide

Transitioning to mmWave is an absolute game-changer, but it does require more careful planning than simply slapping a plastic PIR sensor on the wall with double-sided tape. Because these radar sensors are so highly sensitive, poor placement or lazy configuration can lead to frustrating false positives—lights turning on or staying on when the room is completely empty. Follow these critical steps to achieve a perfect mmWave presence sensor setup.
Step 1: Physical Installation and Placement
Placement is the single most critical factor in your entire setup process. The incredible sensitivity of mmWave sensors means they can easily be fooled by environmental factors that a standard motion sensor would completely ignore. Here are the golden rules of placement:
- Avoid Moving Objects: Do not aim the sensor at ceiling fans, desk fans, air purifiers, robotic vacuums, or swinging curtains. The radar will detect the moving fan blades or fluttering fabric and assume someone is moving in the room.
- Watch Out for Vibrations: Avoid mounting the sensor on surfaces that vibrate. For instance, attaching an mmWave sensor on top of a refrigerator, near a washing machine, or next to an HVAC return vent can cause constant false triggers due to the micro-vibrations of the machinery.
- Consider Signal Penetration: Keep in mind that high-frequency mmWave signals can actually penetrate thin walls, glass windows, and wooden doors. If your sensor is pointed directly at a shared bedroom wall, it might detect someone walking in the adjacent hallway.
- Wall vs. Ceiling Mounting: Wall mounting is typically easier and perfectly fine for most living rooms and bedrooms. However, a ceiling mount often provides an unobstructed, bird’s-eye view of the space. This top-down perspective can help the sensor bypass bulky furniture and reduce interference from wall-mounted electronics or pets running on the floor.
Step 2: Configuring Distance and Sensitivity Limits
Once you have physically mounted the sensor, it is time to open your smart home hub (like Home Assistant, Hubitat, SmartThings, or the manufacturer’s native application) and start tuning the software parameters. Out of the box, mmWave sensors are almost always too sensitive for typical indoor residential environments.
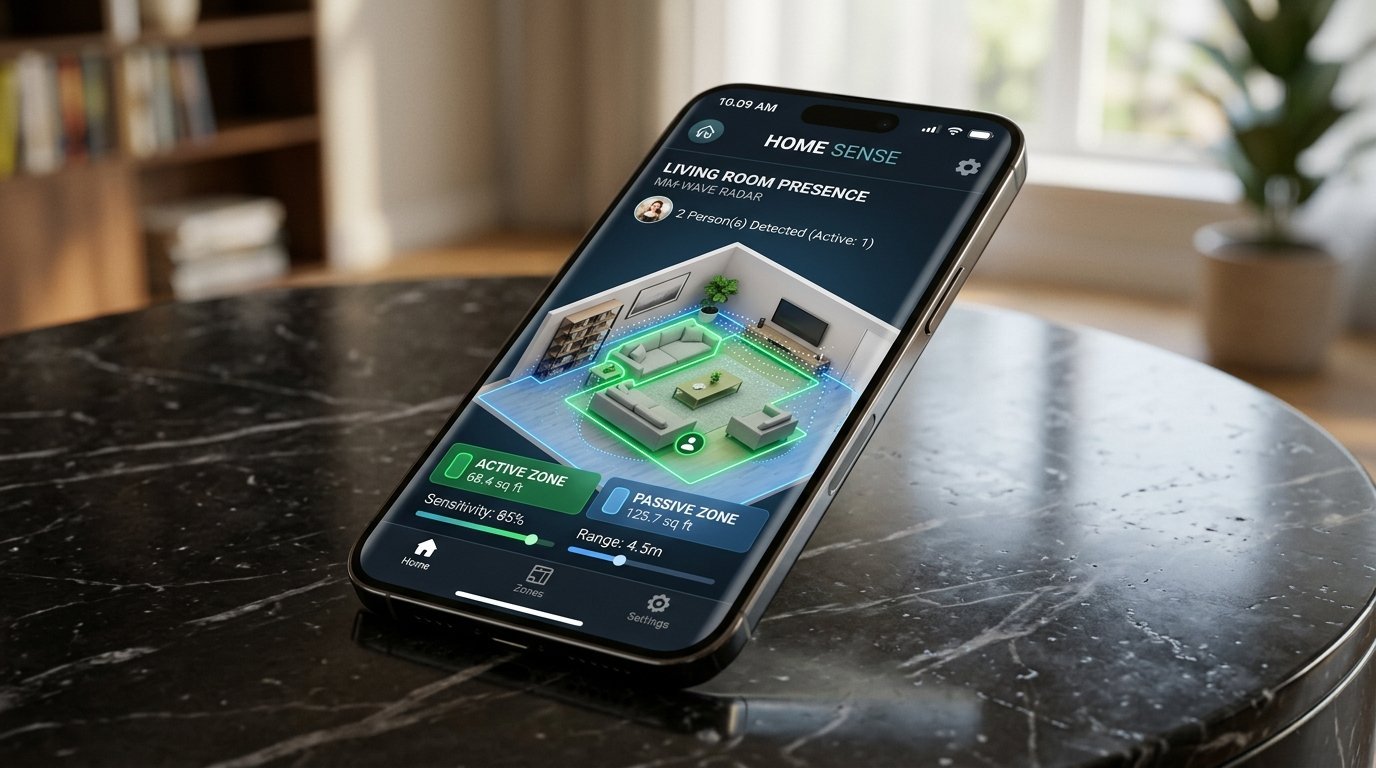
First, adjust the Distance Limits. If your home office is only 3 meters deep, you must set the maximum detection distance to 3 meters (or even 2.8 meters). If you leave it at the default 8 or 10 meters, the sensor will actively try to “look” through your drywall and pick up activity taking place outside the room, keeping your lights on indefinitely.
Next, carefully tune the Sensitivity Thresholds. This is a delicate balancing act that requires some trial and error. You want the sensitivity high enough to reliably detect your breathing while you read a book, but low enough to ignore the slight rustling of a houseplant near an AC vent. A good practice is to monitor the raw baseline noise levels in your smart home hub when the room is completely empty, and then set your detection threshold just a few points above that baseline value.
Step 3: Setting Up Virtual Zones for Precision
One of the most powerful, futuristic features of advanced mmWave sensors (such as the highly popular Aqara FP2 or DIY setups utilizing HLK-LD2450 radar modules) is the ability to map out specific zones within a single room. Instead of treating the entire room as one big binary “occupied or unoccupied” space, you can digitally divide the room into functional areas.
For example, in a large open-concept living area, you could create a “Couch Zone,” a “Dining Table Zone,” and an “Entryway Zone.” You can then program your smart home to only turn on the reading lamp when someone is actively sitting in the Couch Zone, or turn on the pendant lights only when someone is seated at the Dining Table. Furthermore, you can define “Interference Zones” (like the specific area right next to your spinning desk fan or a window with curtains) and tell the sensor software to completely ignore any movement detected in those specific squares.
The Pro Strategy: The Hybrid Automation Approach
Even with perfect placement and meticulous tuning, mmWave sensors have one notable drawback: they can sometimes be slightly slower to detect initial, fast movement compared to a standard PIR sensor. If you walk rapidly into a pitch-dark room, there might be a one- or two-second delay before the mmWave radar processes your presence, calculates the data, and triggers the lights to turn on.
To achieve absolute perfection with zero delay, many advanced smart home enthusiasts use a “Hybrid Approach” that combines the strengths of both technologies:
- Instant Activation (PIR): Use a cheap, fast-acting PIR motion sensor positioned near the door to instantly turn the lights on the exact millisecond you cross the threshold of the room.
- Sustained Presence (mmWave): Use the mmWave sensor to maintain the “occupied” state. As long as the radar detects micro-movements like breathing or typing, the lights stay on.
- Graceful Shutdown: Configure your smart home hub to only turn the lights off when both the PIR sensor sees no major movement and the mmWave sensor has reported “unoccupied” for a safety buffer period of 30 to 60 seconds.
This hybrid method gives you the absolute best of both worlds: instant-on lighting the moment you enter, and flawless presence retention while you are inside, completely eliminating the need to ever wave your arms to keep the lights on again.
Conclusion: Perfecting Your mmWave presence sensor setup
The era of frustrating, easily fooled motion sensors is officially over. By transitioning to millimeter wave radar technology, you can finally build a smart home that truly understands when you are using a space, without demanding your active participation or constant movement. While it takes a little bit more upfront effort to avoid physical interference and fine-tune the software thresholds, a carefully executed mmWave presence sensor setup is the ultimate key to unlocking an invisible, proactive, and deeply satisfying home automation experience. Take the time to dial in your zones, consider a hybrid approach for instant response, and say goodbye to the dark forever. Welcome to a home that simply works around you.
You can read more about The Future of Smart Mirrors in Modern Homes.
You can read more about Reclaim Your Floor Plan: The Ultimate Motorized Ceiling Drop-Down Bed Setup.